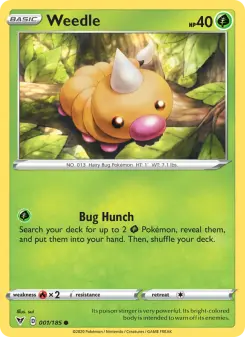
1/185Illustrated by sui
Weedle
Common
Normal · Reverse Holo


VIV · Sword & Shield · Released November 13, 2020 · 185 official cards · 203 total
Vivid Voltage is a Pokémon TCG set in the Sword & Shield series, released November 13, 2020. The checklist runs 185 numbered cards, plus 18 secret rares numbered past the printed set size. A complete set is 203 cards. Counting every booster-pack printing — including reverse holos and pack foil patterns — a master set is 345 variants. Adding catalogued non-pack printings and attached promos gives a grand master checklist of 352 variants. Promo and printing coverage is still being reviewed.
Complete set
203cards
Master set
345variants
Grand master set
352variants
Binder visualizer
Pick a finish line and binder format. Each printing gets its own pocket in master and grand master sets.
345 pockets · 39 pages
1 · 1
Normal
2 · 1
Reverse Holo

3 · 2
Normal
4 · 2
Reverse Holo
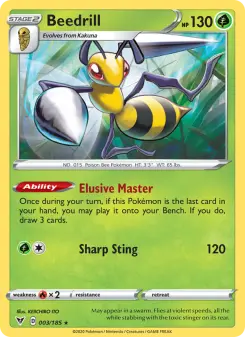
5 · 3
Normal
6 · 3
Reverse Holo
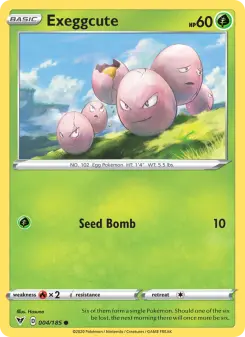
7 · 4
Normal
8 · 4
Reverse Holo
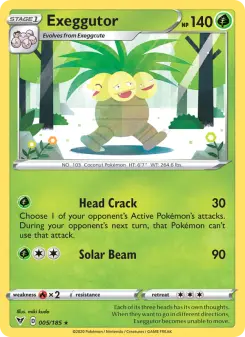
9 · 5
Normal
1 · 1
Normal
2 · 1
Reverse Holo
3 · 2
Normal
4 · 2
Reverse Holo
5 · 3
Normal
6 · 3
Reverse Holo
7 · 4
Normal
8 · 4
Reverse Holo
9 · 5
Normal
Ninth Pocket for iOS
Track every card and printing, and see exactly what is still missing with Ninth Pocket.

each card lists its printings · + marks grand-master-only versions
1/185Illustrated by sui
Common
Normal · Reverse Holo
2/185Illustrated by Naoyo Kimura
Uncommon
Normal · Reverse Holo
3/185KEIICHIRO ITO
Rare
Normal · Reverse Holo
4/185Illustrated by Hasuno
Common
Normal · Reverse Holo
5/185miki kudo
Rare
Normal · Reverse Holo
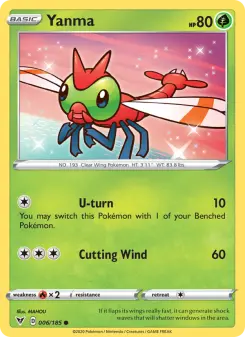
6/185Illustrated by MAHOU
Common
Normal · Reverse Holo
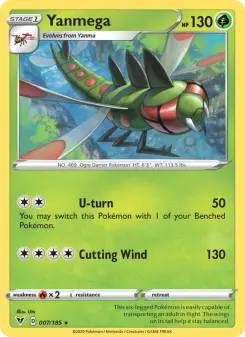
7/185Illustrated by Uta
Rare
Normal · Reverse Holo
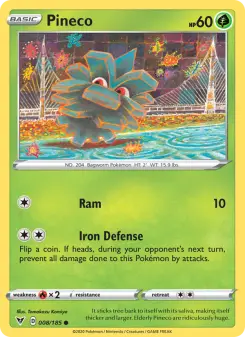
8/185Tomokazu Komiya
Common
Normal · Reverse Holo
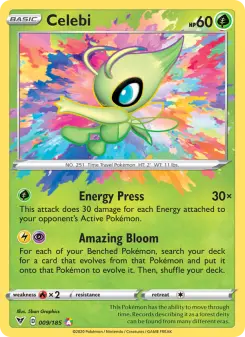
9/185Illustrated by 5ban Graphics
Amazing Rare
Holo
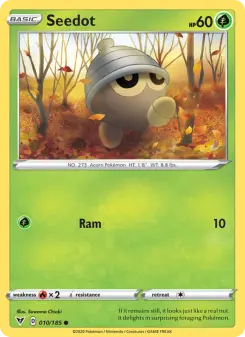
10/185Illustrated by Suwama Chiaki
Common
Normal · Reverse Holo

11/185Illustrated by otumami
Uncommon
Normal · Reverse Holo
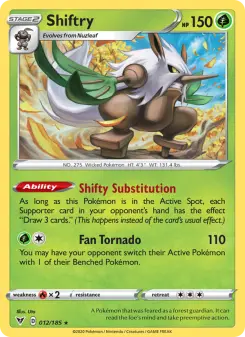
12/185Illustrated by Uta
Rare
Normal · Reverse Holo
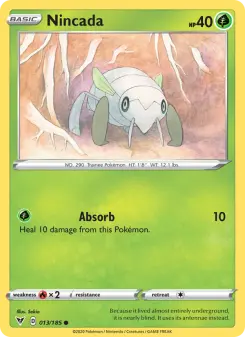
13/185Illustrated by Sekio
Common
Normal · Reverse Holo
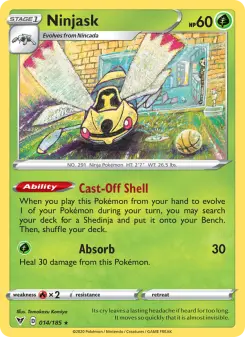
14/185Tomokazu Komiya
Rare
Normal · Reverse Holo
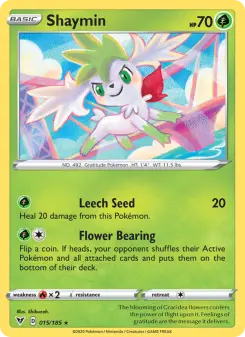
15/185Shibuzoh.
Holo Rare
Holo · Reverse Holo
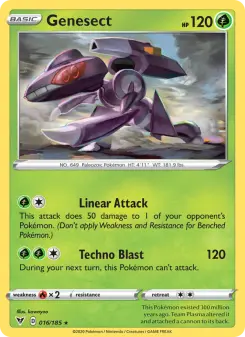
16/185Illustrated by kawayoo
Holo Rare
Holo · Reverse Holo

17/185Illustrated by Saya Tsuruta
Common
Normal · Reverse Holo
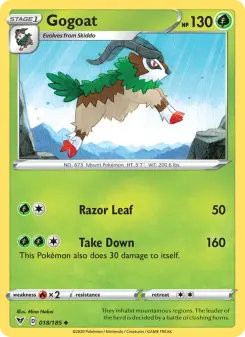
18/185Mina Nakai
Uncommon
Normal · Reverse Holo
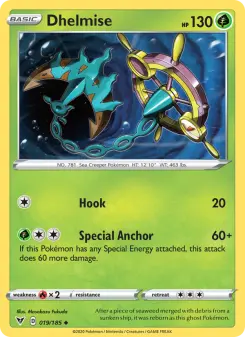
19/185Illustrated by Masakazu Fukuda
Uncommon
Normal · Reverse Holo
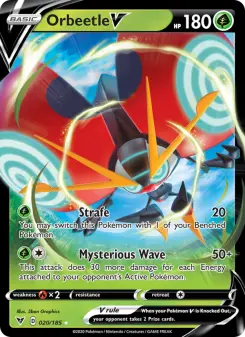
20/185Illustrated by 5ban Graphics
Holo Rare V
Holo
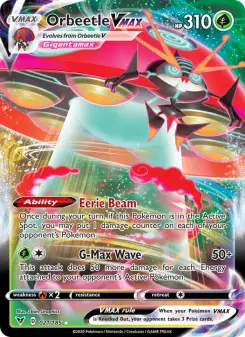
21/185Illustrated by 5ban Graphics
Holo Rare VMAX
Holo
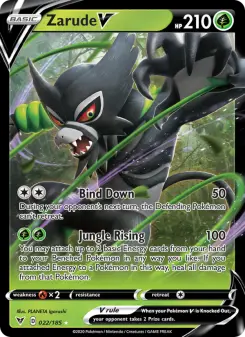
22/185Illustrated by PLANETA Igarashi
Holo Rare V
Holo
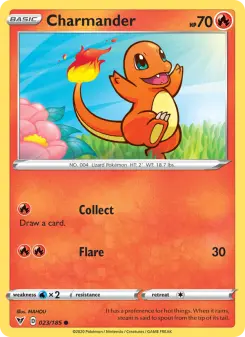
23/185Illustrated by MAHOU
Common
Normal · Reverse Holo
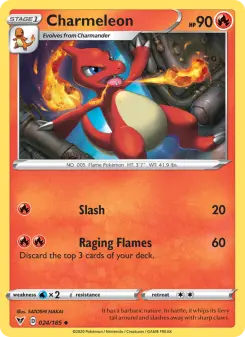
24/185Illustrated by SATOSHI NAKAI
Uncommon
Normal · Reverse Holo
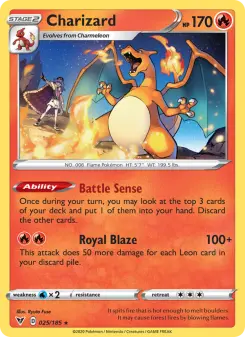
25/185Illustrated by Ryuta Fuse
Rare
Normal · Reverse Holo · +Holo Cracked Ice
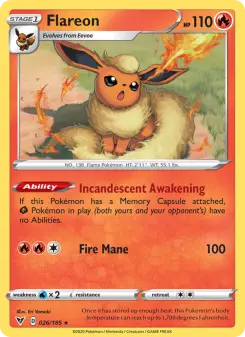
26/185Illustrated by Eri Yamaki
Rare
Normal · Reverse Holo
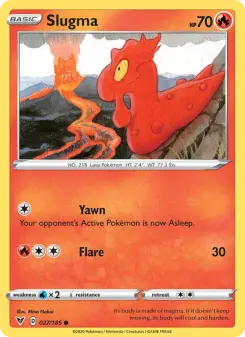
27/185Mina Nakai
Common
Normal · Reverse Holo
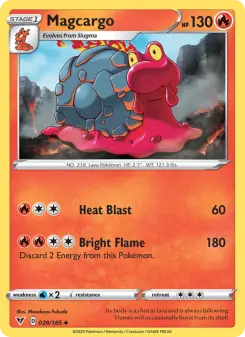
28/185Illustrated by Masakazu Fukuda
Uncommon
Normal · Reverse Holo
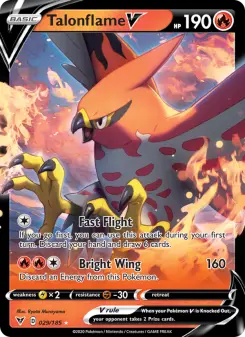
29/185Illustrated by Ryota Murayama
Holo Rare V
Holo
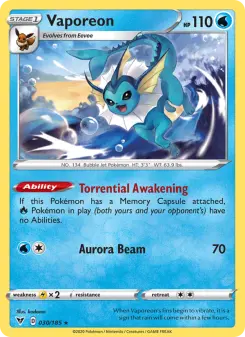
30/185Illustrated by kodama
Rare
Normal · Reverse Holo
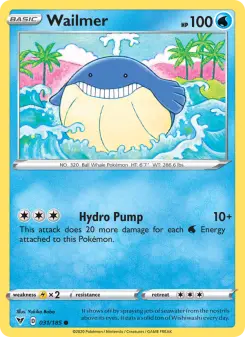
31/185Illustrated by Yukiko Baba
Common
Normal · Reverse Holo
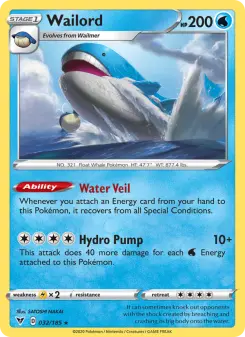
32/185Illustrated by SATOSHI NAKAI
Holo Rare
Holo · Reverse Holo

33/185Illustrated by nagimiso
Common
Normal · Reverse Holo
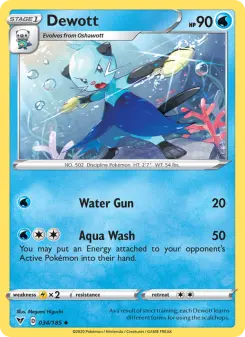
34/185Illustrated by Megumi Higuchi
Uncommon
Normal · Reverse Holo
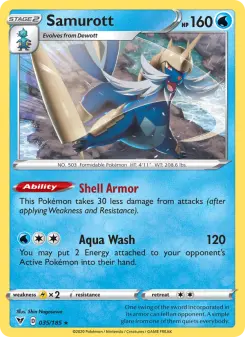
35/185Illustrated by Shin Nagasawa
Rare
Normal · Reverse Holo

36/185Illustrated by 5ban Graphics
Holo Rare V
Holo

37/185Illustrated by 5ban Graphics
Holo Rare VMAX
Holo
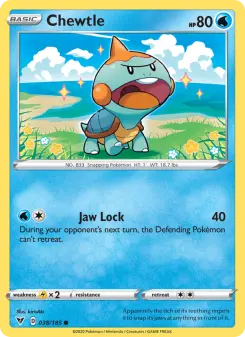
38/185Illustrated by kirisAki
Common
Normal · Reverse Holo
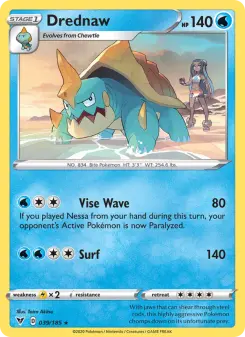
39/185Illustrated by Taira Akitsu
Rare
Normal · Reverse Holo · +Holo Cracked Ice
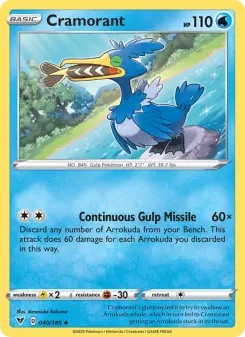
40/185Illustrated by Sanosuke Sakuma
Uncommon
Normal · Reverse Holo
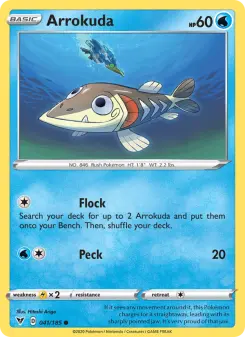
41/185Illustrated by Hitoshi Ariga
Common
Normal · Reverse Holo
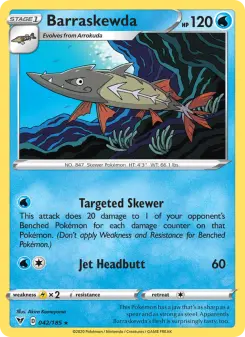
42/185Illustrated by Akira Komayama
Rare
Normal · Reverse Holo
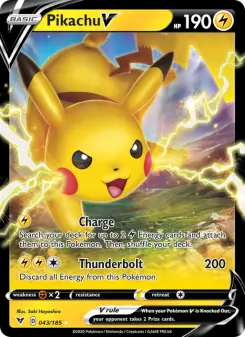
43/185Illustrated by Saki Hayashiro
Holo Rare V
Holo · +Holo Jumbo Set Logo

44/185Illustrated by aky CG Works
Holo Rare VMAX
Holo
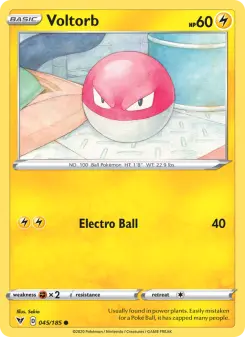
45/185Illustrated by Sekio
Common
Normal · Reverse Holo
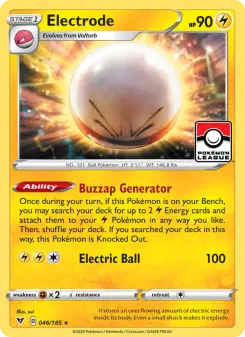
46/185Illustrated by sui
Holo Rare
Holo · Reverse Holo
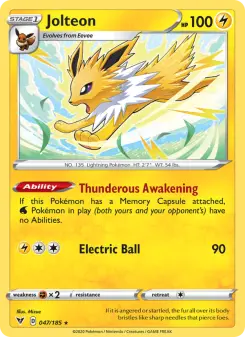
47/185Illustrated by Mizue
Rare
Normal · Reverse Holo
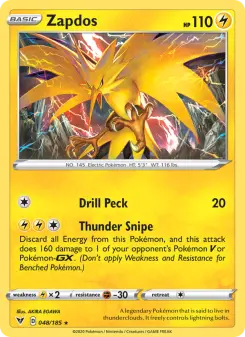
48/185AKIRA EGAWA
Holo Rare
Holo · Reverse Holo · +Holo Cosmos
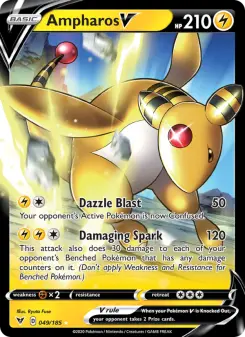
49/185Illustrated by Ryuta Fuse
Holo Rare V
Holo
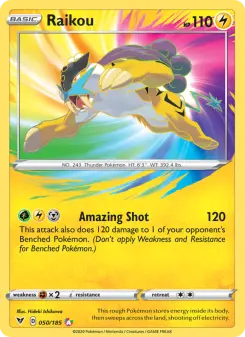
50/185Illustrated by Hideki Ishikawa
Amazing Rare
Holo
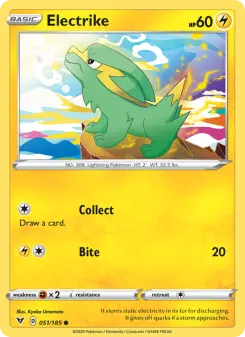
51/185Illustrated by Kyoko Umemoto
Common
Normal · Reverse Holo
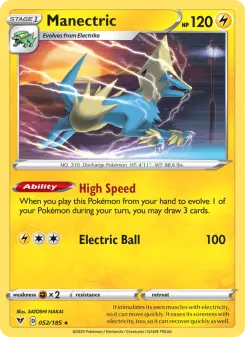
52/185Illustrated by SATOSHI NAKAI
Rare
Normal · Reverse Holo
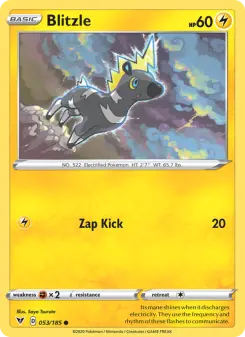
53/185Illustrated by Saya Tsuruta
Common
Normal · Reverse Holo
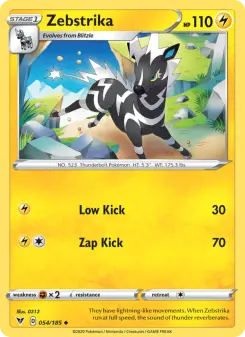
54/185Illustrated by 0313
Uncommon
Normal · Reverse Holo
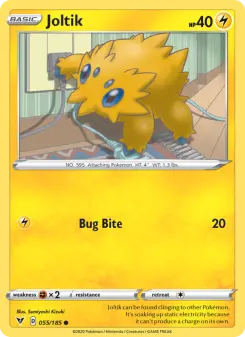
55/185Illustrated by Sumiyoshi Kizuki
Common
Normal · Reverse Holo
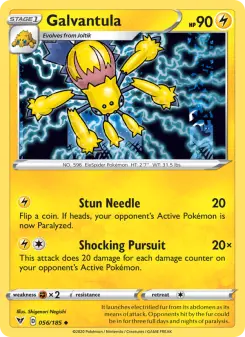
56/185Illustrated by Shigenori Negishi
Uncommon
Normal · Reverse Holo
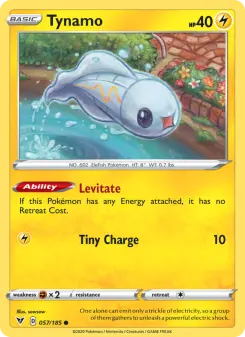
57/185sowsow
Common
Normal · Reverse Holo
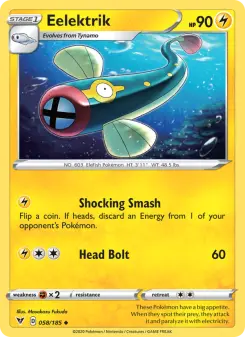
58/185Illustrated by Masakazu Fukuda
Uncommon
Normal · Reverse Holo
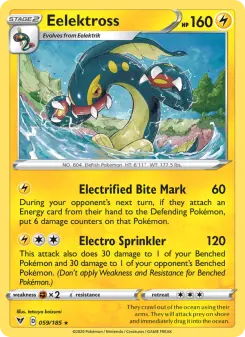
59/185Illustrated by tetsuya koizumi
Rare
Normal · Reverse Holo
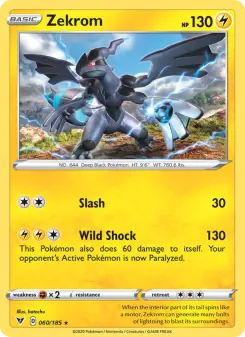
60/185Illustrated by hatachu
Holo Rare
Holo · Reverse Holo
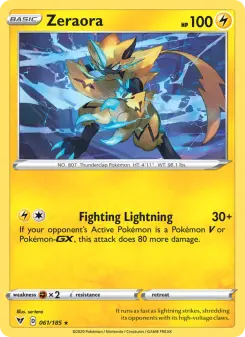
61/185Illustrated by so-taro
Holo Rare
Holo · Reverse Holo
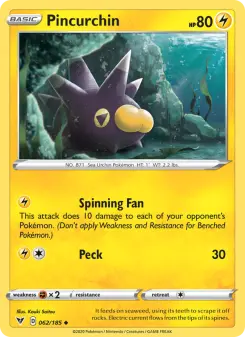
62/185Kouki Saitou
Uncommon
Normal · Reverse Holo
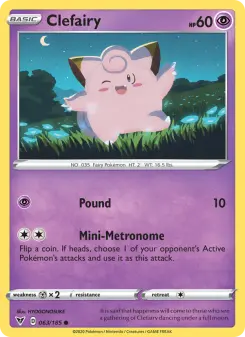
63/185HYOGONOSUKE
Common
Normal · Reverse Holo

64/185Illustrated by Saya Tsuruta
Rare
Normal · Reverse Holo
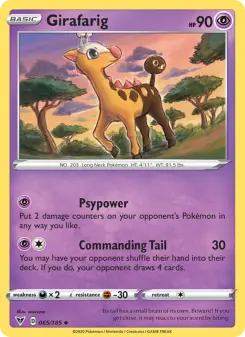
65/185sowsow
Uncommon
Normal · Reverse Holo
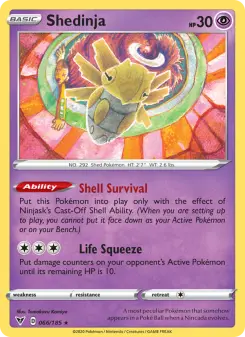
66/185Tomokazu Komiya
Rare
Normal · Reverse Holo
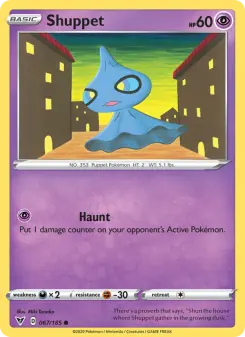
67/185Illustrated by Miki Tanaka
Common
Normal · Reverse Holo
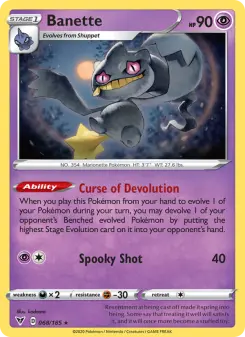
68/185Illustrated by kodama
Rare
Normal · Reverse Holo
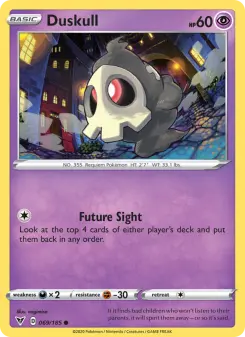
69/185Illustrated by nagimiso
Common
Normal · Reverse Holo
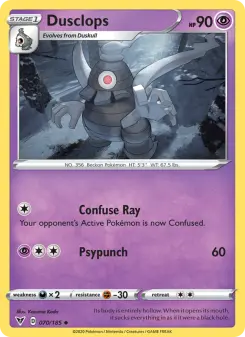
70/185Illustrated by Kazuma Koda
Uncommon
Normal · Reverse Holo
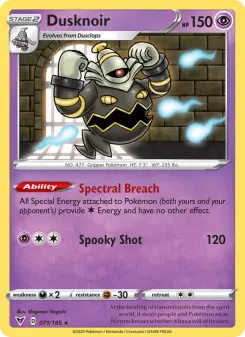
71/185Illustrated by Shigenori Negishi
Holo Rare
Holo · Reverse Holo
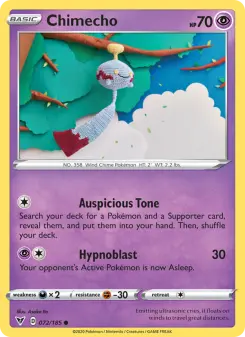
72/185Asako Ito
Common
Normal · Reverse Holo
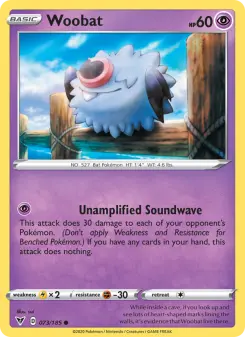
73/185Illustrated by sui
Common
Normal · Reverse Holo
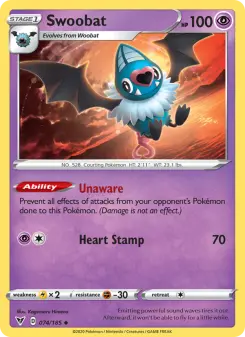
74/185Kagemaru Himeno
Uncommon
Normal · Reverse Holo
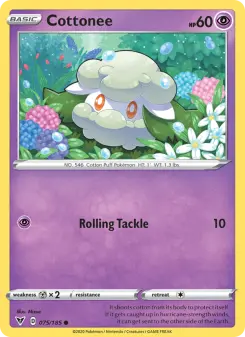
75/185Illustrated by Mizue
Common
Normal · Reverse Holo
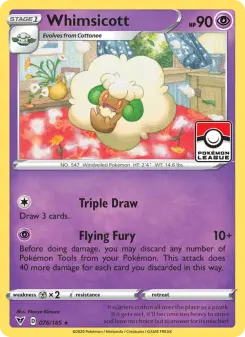
76/185Illustrated by Naoyo Kimura
Rare
Normal · Reverse Holo
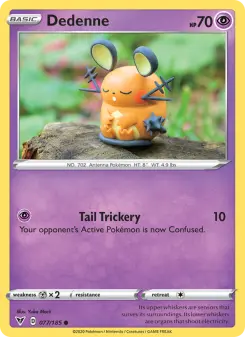
77/185Yuka Morii
Common
Normal · Reverse Holo
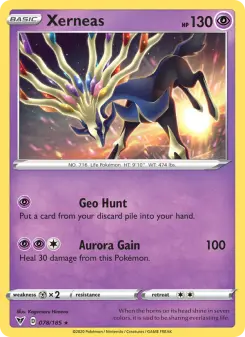
78/185Kagemaru Himeno
Holo Rare
Holo · Reverse Holo
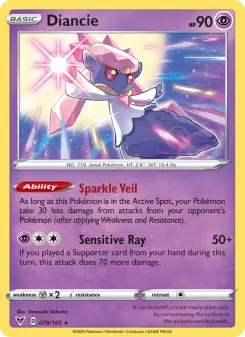
79/185Illustrated by Sanosuke Sakuma
Holo Rare
Holo · Reverse Holo
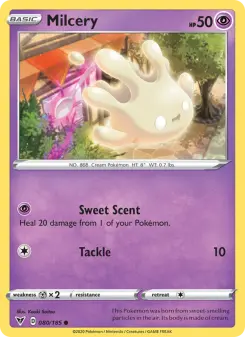
80/185Kouki Saitou
Common
Normal · Reverse Holo
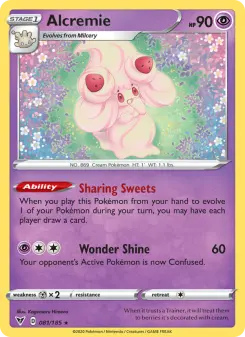
81/185Kagemaru Himeno
Rare
Normal · Reverse Holo
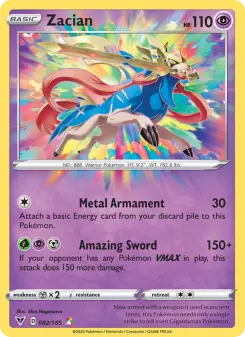
82/185Illustrated by Shin Nagasawa
Amazing Rare
Holo

83/185Mina Nakai
Common
Normal · Reverse Holo
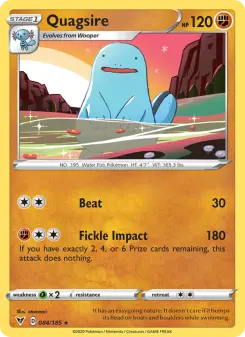
84/185Illustrated by otumami
Rare
Normal · Reverse Holo

85/185Illustrated by Mizue
Uncommon
Normal · Reverse Holo
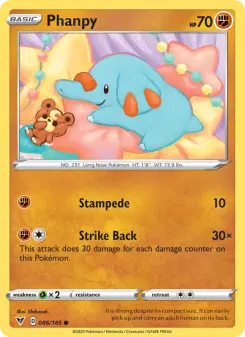
86/185Shibuzoh.
Common
Normal · Reverse Holo
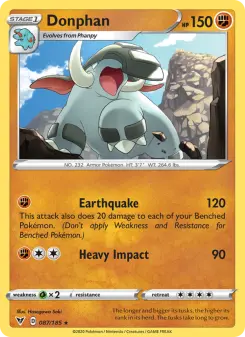
87/185Illustrated by Hasegawa Saki
Rare
Normal · Reverse Holo
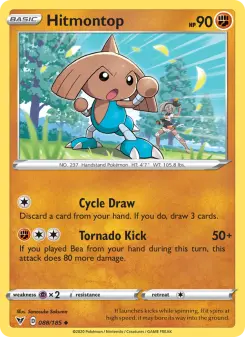
88/185Illustrated by Sanosuke Sakuma
Uncommon
Normal · Reverse Holo
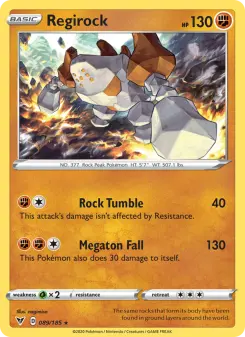
89/185Illustrated by nagimiso
Holo Rare
Holo · Reverse Holo
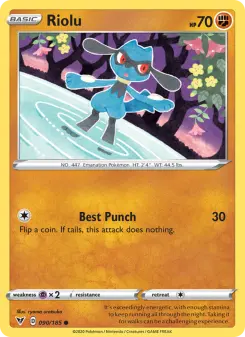
90/185Illustrated by ryoma uratsuka
Common
Normal · Reverse Holo
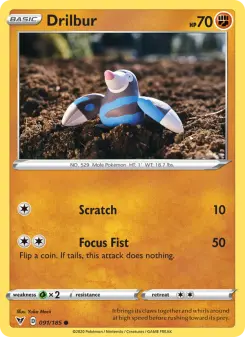
91/185Yuka Morii
Common
Normal · Reverse Holo
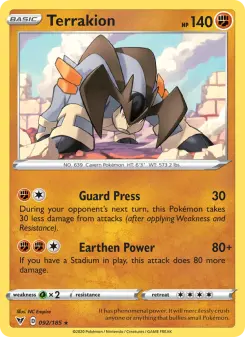
92/185Illustrated by NC Empire
Rare
Normal · Reverse Holo
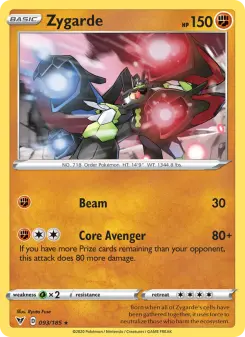
93/185Illustrated by Ryuta Fuse
Holo Rare
Holo · Reverse Holo
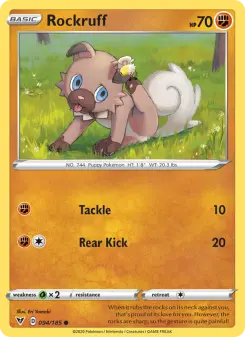
94/185Illustrated by Eri Yamaki
Common
Normal · Reverse Holo
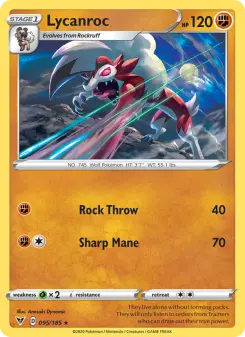
95/185Illustrated by Anesaki Dynamic
Rare
Normal · Reverse Holo
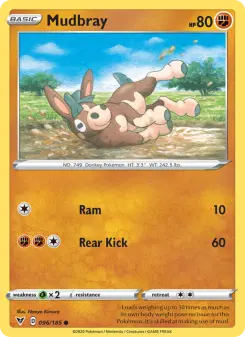
96/185Illustrated by Naoyo Kimura
Common
Normal · Reverse Holo
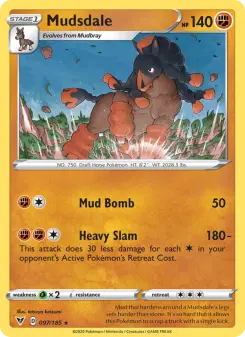
97/185Illustrated by tetsuya koizumi
Rare
Normal · Reverse Holo
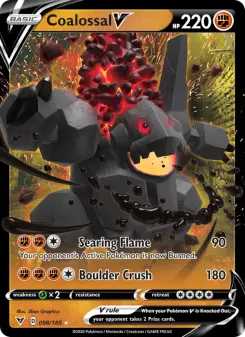
98/185Illustrated by 5ban Graphics
Holo Rare V
Holo
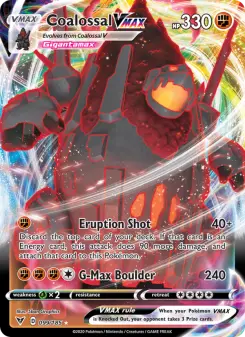
99/185Illustrated by 5ban Graphics
Holo Rare VMAX
Holo
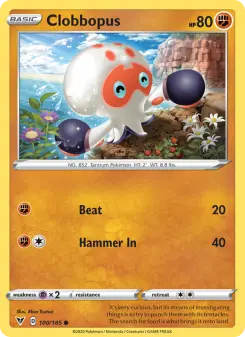
100/185Illustrated by Misa Tsutsui
Common
Normal · Reverse Holo
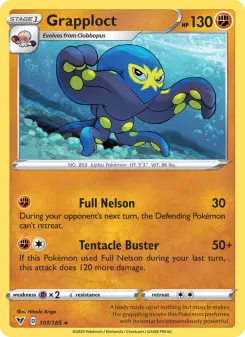
101/185Illustrated by Hitoshi Ariga
Rare
Normal · Reverse Holo
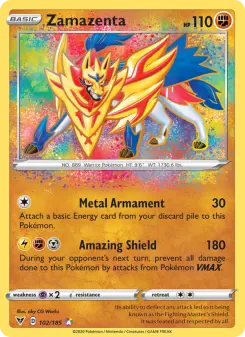
102/185Illustrated by aky CG Works
Amazing Rare
Holo
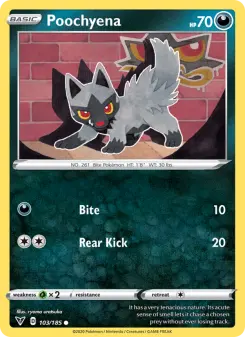
103/185Illustrated by ryoma uratsuka
Common
Normal · Reverse Holo
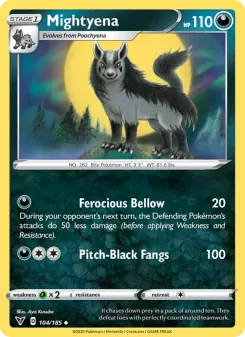
104/185Illustrated by Aya Kusube
Uncommon
Normal · Reverse Holo
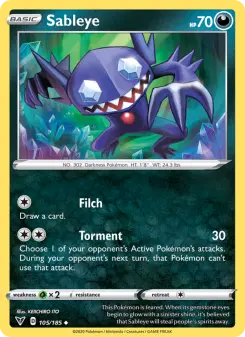
105/185KEIICHIRO ITO
Uncommon
Normal · Reverse Holo
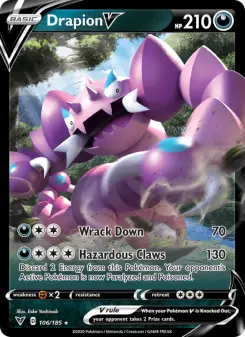
106/185Illustrated by Eske Yoshinob
Holo Rare V
Holo
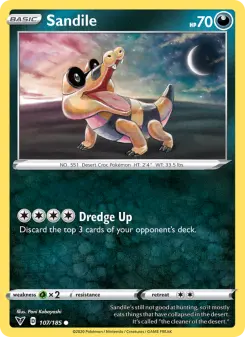
107/185Illustrated by Pani Kobayashi
Common
Normal · Reverse Holo
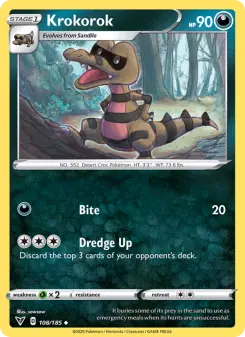
108/185sowsow
Uncommon
Normal · Reverse Holo
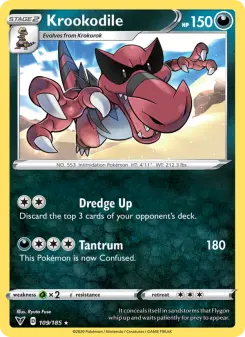
109/185Illustrated by Ryuta Fuse
Rare
Normal · Reverse Holo

110/185Illustrated by Kyoko Umemoto
Common
Normal · Reverse Holo
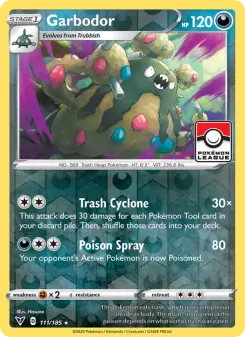
111/185Illustrated by Hasuno
Rare
Normal · Reverse Holo
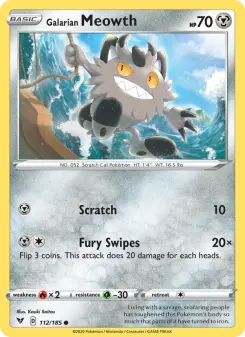
112/185Kouki Saitou
Common
Normal · Reverse Holo
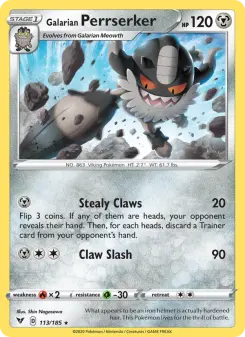
113/185Illustrated by Shin Nagasawa
Rare
Normal · Reverse Holo
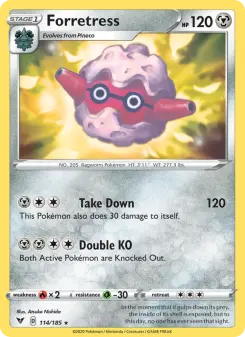
114/185Atsuko Nishida
Rare
Normal · Reverse Holo
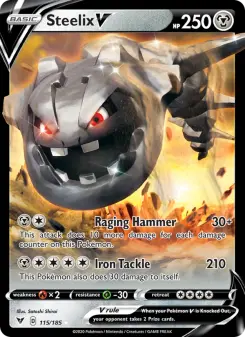
115/185Illustrated by Satoshi Shirai
Holo Rare V
Holo
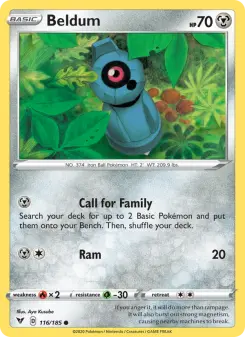
116/185Illustrated by Aya Kusube
Common
Normal · Reverse Holo
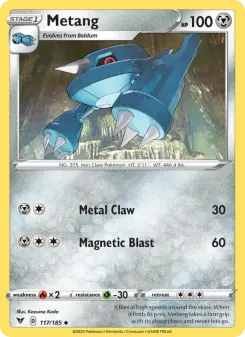
117/185Illustrated by Kazuma Koda
Uncommon
Normal · Reverse Holo
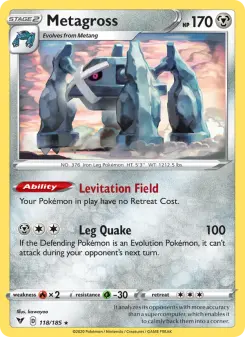
118/185Illustrated by kawayoo
Rare
Normal · Reverse Holo
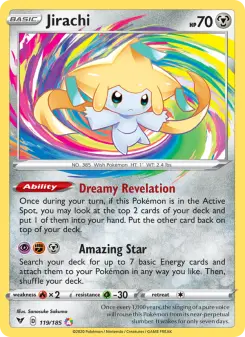
119/185Illustrated by Sanosuke Sakuma
Amazing Rare
Holo
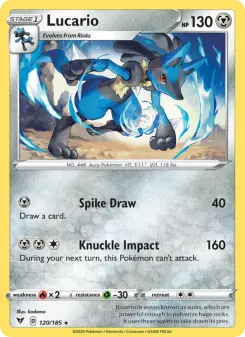
120/185Illustrated by kodama
Rare
Normal · Reverse Holo
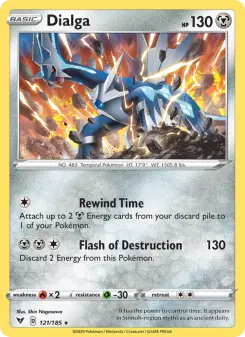
121/185Illustrated by Shin Nagasawa
Holo Rare
Normal · Holo · Reverse Holo
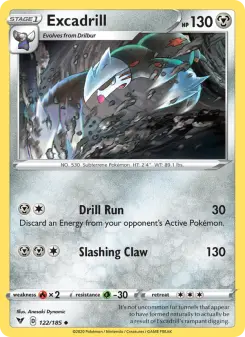
122/185Illustrated by Anesaki Dynamic
Uncommon
Normal · Reverse Holo
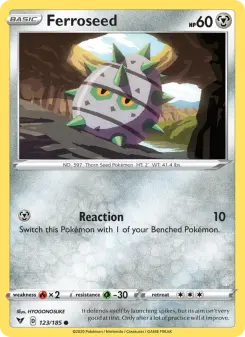
123/185HYOGONOSUKE
Common
Normal · Reverse Holo
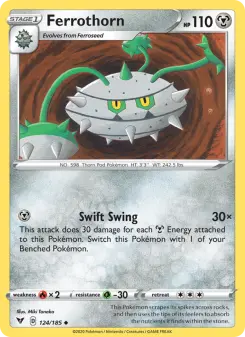
124/185Illustrated by Miki Tanaka
Uncommon
Normal · Reverse Holo
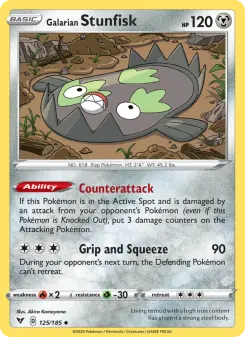
125/185Illustrated by Akira Komayama
Uncommon
Normal · Reverse Holo
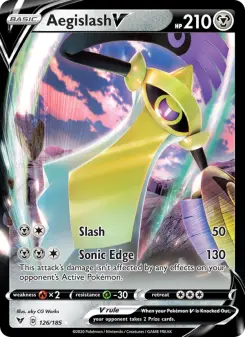
126/185Illustrated by aky CG Works
Holo Rare V
Holo
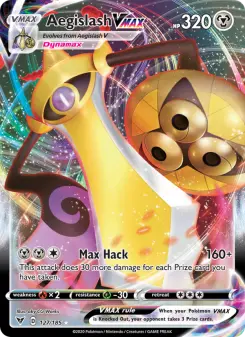
127/185Illustrated by aky CG Works
Holo Rare VMAX
Holo
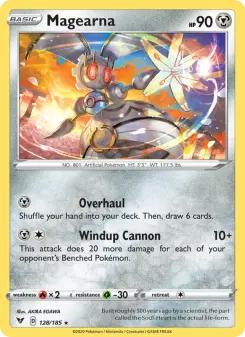
128/185AKIRA EGAWA
Holo Rare
Holo · Reverse Holo
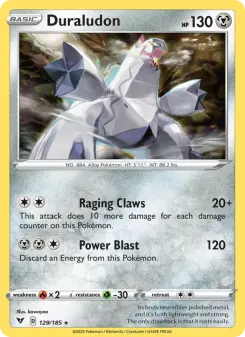
129/185Illustrated by kawayoo
Holo Rare
Holo · Reverse Holo · +Holo Cosmos
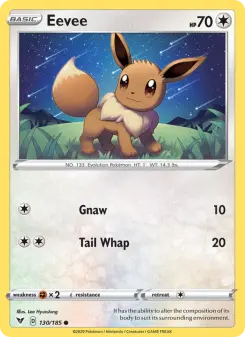
130/185Illustrated by Lee HyunJung
Common
Normal · Reverse Holo
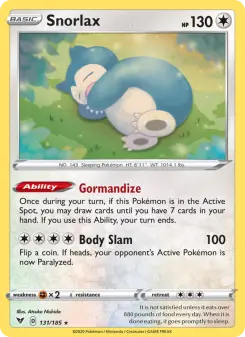
131/185Atsuko Nishida
Holo Rare
Holo · Reverse Holo · +Holo Set Logo
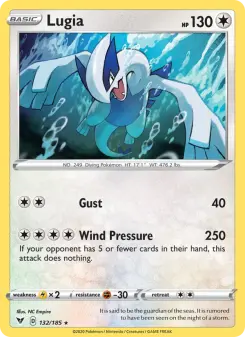
132/185Illustrated by NC Empire
Holo Rare
Holo · Reverse Holo
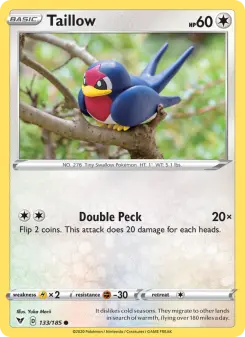
133/185Yuka Morii
Common
Normal · Reverse Holo
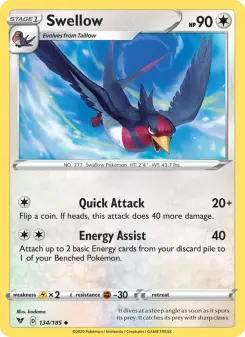
134/185Illustrated by kodama
Uncommon
Normal · Reverse Holo
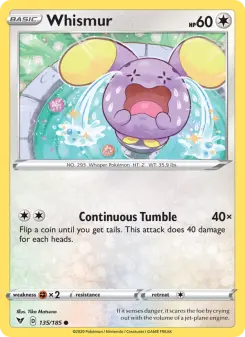
135/185Illustrated by Tika Matsuno
Common
Normal · Reverse Holo
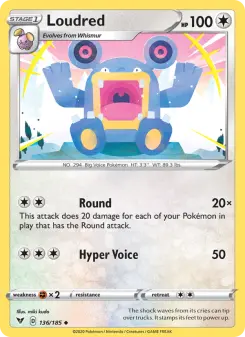
136/185miki kudo
Uncommon
Normal · Reverse Holo
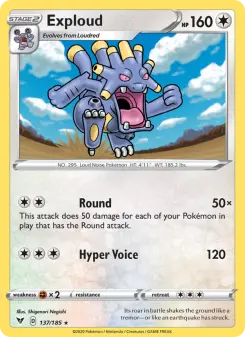
137/185Illustrated by Shigenori Negishi
Rare
Normal · Reverse Holo
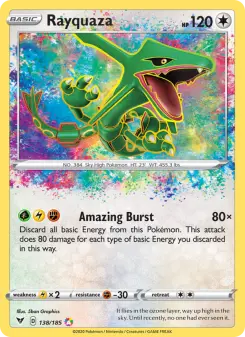
138/185Illustrated by 5ban Graphics
Amazing Rare
Holo
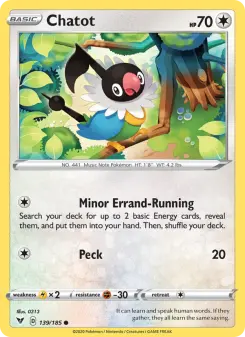
139/185Illustrated by 0313
Common
Normal · Reverse Holo

140/185Illustrated by PLANETA Mochizuki
Holo Rare V
Holo
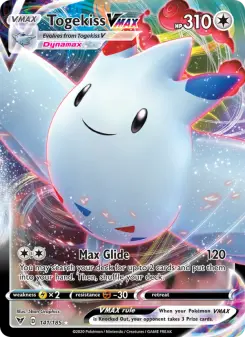
141/185Illustrated by 5ban Graphics
Holo Rare VMAX
Holo
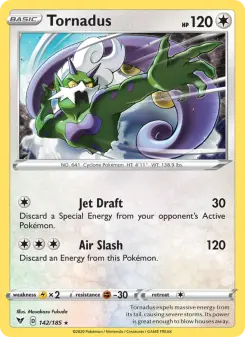
142/185Illustrated by Masakazu Fukuda
Holo Rare
Holo · Reverse Holo
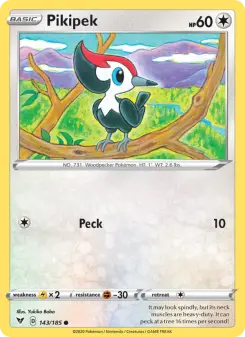
143/185Illustrated by Yukiko Baba
Common
Normal · Reverse Holo
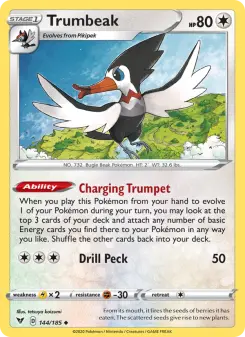
144/185Illustrated by tetsuya koizumi
Uncommon
Normal · Reverse Holo
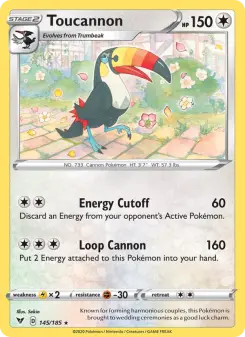
145/185Illustrated by Sekio
Rare
Normal · Reverse Holo
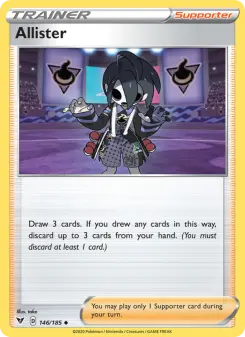
146/185Illustrated by take
Uncommon
Normal · Reverse Holo
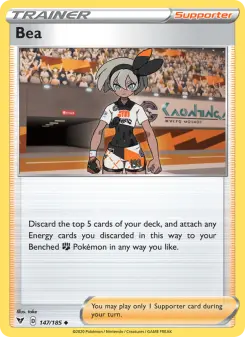
147/185Illustrated by take
Uncommon
Normal · Reverse Holo
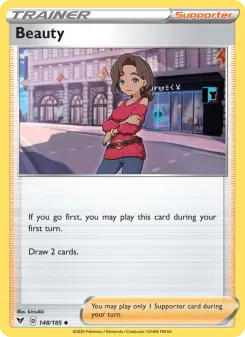
148/185Illustrated by kirisAki
Uncommon
Normal · Reverse Holo
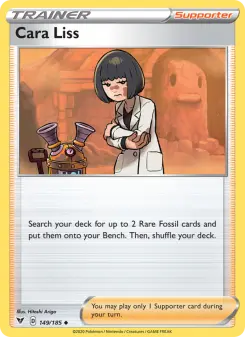
149/185Illustrated by Hitoshi Ariga
Uncommon
Normal · Reverse Holo
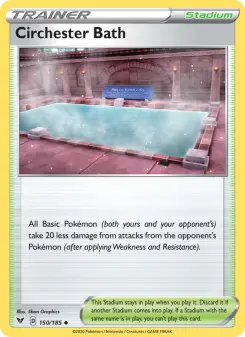
150/185Illustrated by 5ban Graphics
Uncommon
Normal · Reverse Holo
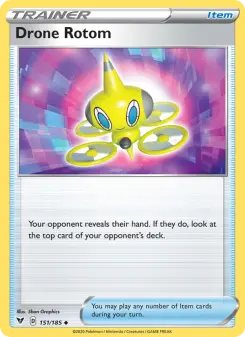
151/185Illustrated by 5ban Graphics
Uncommon
Normal · Reverse Holo
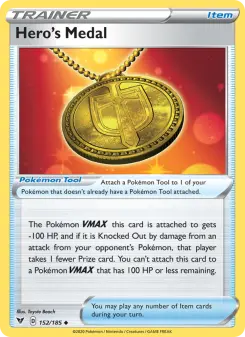
152/185Illustrated by Toyste Beach
Uncommon
Normal · Reverse Holo
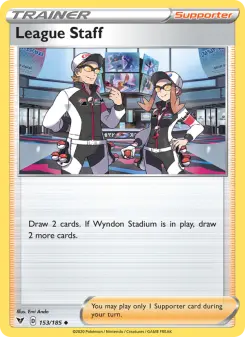
153/185Illustrated by Emi Ando
Uncommon
Normal · +Reverse Holo Staff
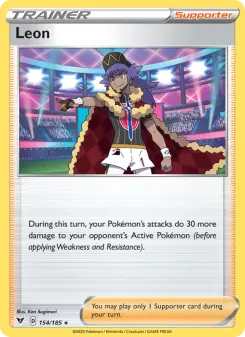
154/185Ken Sugimori
Holo Rare
Holo · Reverse Holo
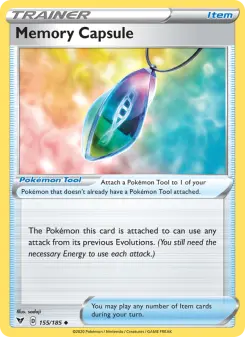
155/185Illustrated by sadaji
Uncommon
Normal · Reverse Holo
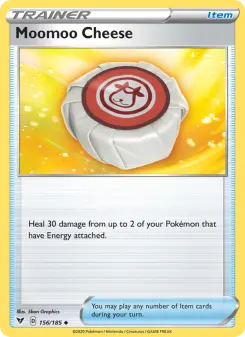
156/185Illustrated by 5ban Graphics
Uncommon
Normal · Reverse Holo
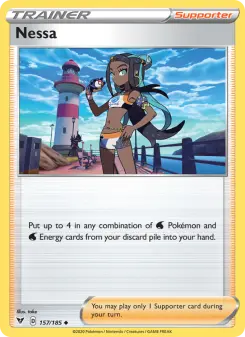
157/185Illustrated by take
Uncommon
Normal · Reverse Holo
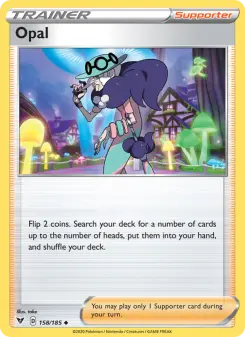
158/185Illustrated by take
Uncommon
Normal · Reverse Holo
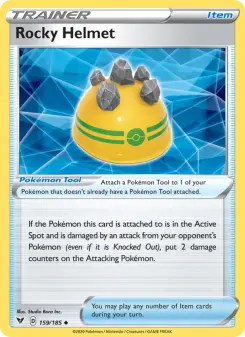
159/185Illustrated by Studio Bora Inc.
Uncommon
Normal · Reverse Holo
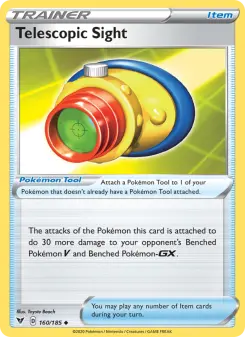
160/185Illustrated by Toyste Beach
Uncommon
Normal · Reverse Holo
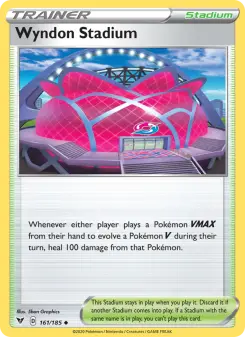
161/185Illustrated by 5ban Graphics
Uncommon
Normal · Reverse Holo
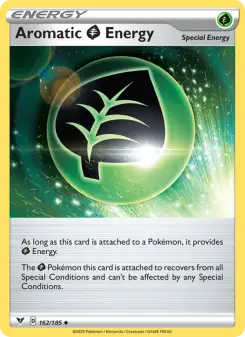
162/185
Uncommon
Normal · Reverse Holo
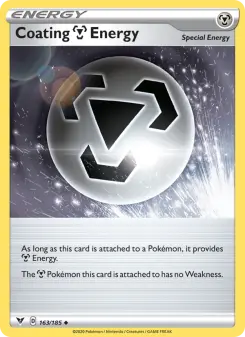
163/185
Uncommon
Normal · Reverse Holo
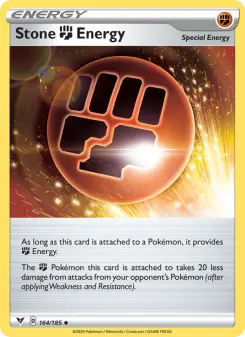
164/185
Uncommon
Normal · Reverse Holo

165/185
Uncommon
Normal · Reverse Holo
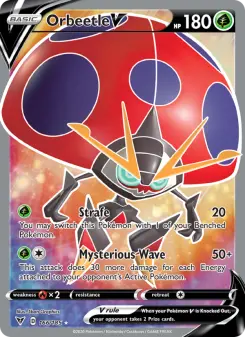
166/185Illustrated by 5ban Graphics
Ultra Rare
Holo
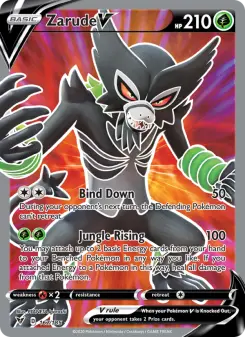
167/185Illustrated by PLANETA Igarashi
Ultra Rare
Holo
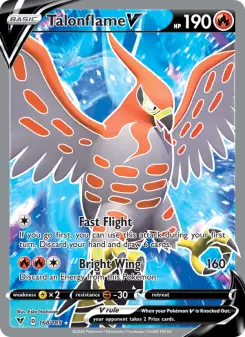
168/185Illustrated by Eske Yoshinob
Ultra Rare
Holo
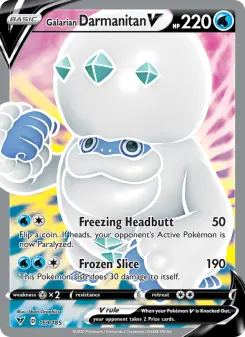
169/185Illustrated by 5ban Graphics
Ultra Rare
Holo
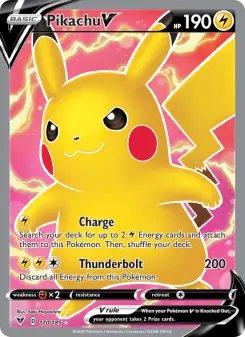
170/185Illustrated by Saki Hayashiro
Ultra Rare
Holo
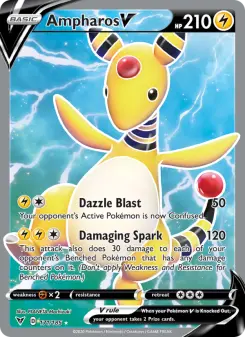
171/185Illustrated by PLANETA Mochizuki
Ultra Rare
Holo
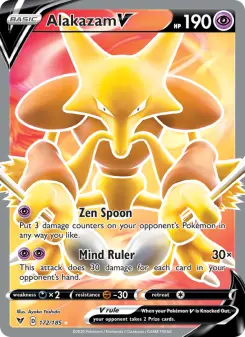
172/185Illustrated by Ayaka Yoshida
Ultra Rare
Holo
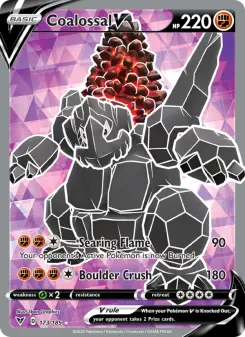
173/185Illustrated by 5ban Graphics
Ultra Rare
Holo
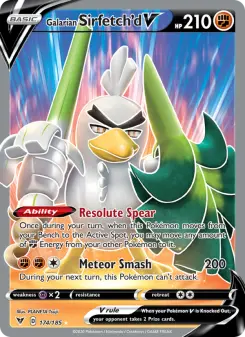
174/185Illustrated by PLANETA Tsuji
Ultra Rare
Holo
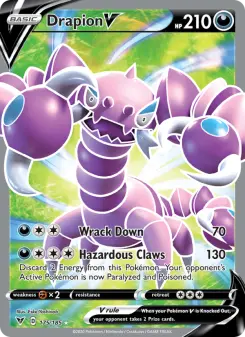
175/185Illustrated by Eske Yoshinob
Ultra Rare
Holo
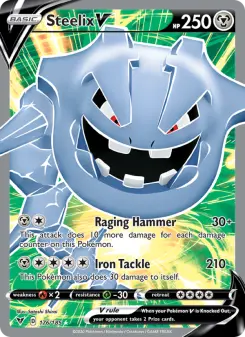
176/185Illustrated by Satoshi Shirai
Ultra Rare
Holo
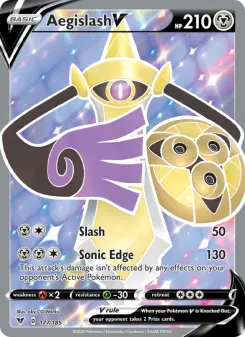
177/185Illustrated by aky CG Works
Ultra Rare
Holo

178/185Illustrated by PLANETA Mochizuki
Ultra Rare
Holo
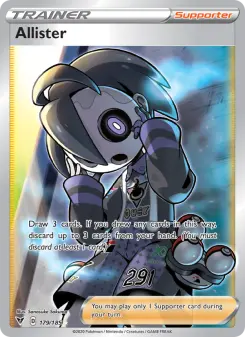
179/185Illustrated by Sanosuke Sakuma
Ultra Rare
Holo
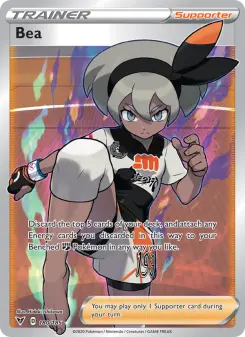
180/185Illustrated by Hideki Ishikawa
Ultra Rare
Holo

181/185Illustrated by kirisAki
Ultra Rare
Holo
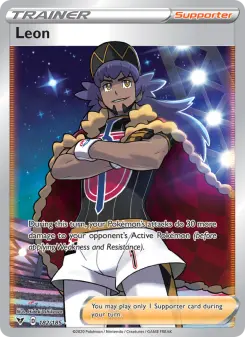
182/185Illustrated by Hideki Ishikawa
Ultra Rare
Holo
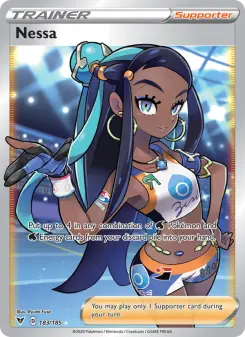
183/185Illustrated by Ryuta Fuse
Ultra Rare
Holo
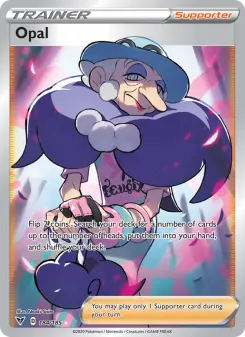
184/185Illustrated by Naoki Saito
Ultra Rare
Holo

185/185Illustrated by Sanosuke Sakuma
Ultra Rare
Normal
Numbered past the set's official 185 cards.
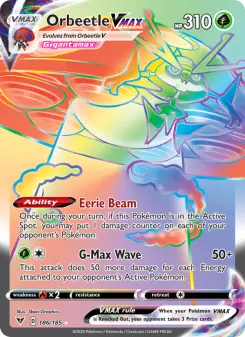
186/185Illustrated by 5ban Graphics
Secret Rare
Holo Rainbow
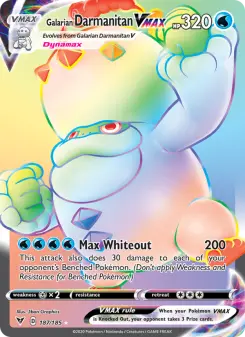
187/185Illustrated by 5ban Graphics
Secret Rare
Holo Rainbow

188/185Illustrated by aky CG Works
Secret Rare
Holo Rainbow
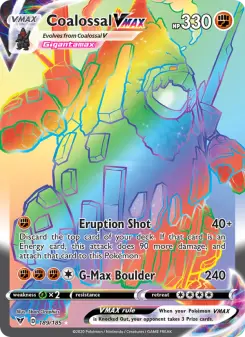
189/185Illustrated by 5ban Graphics
Secret Rare
Holo Rainbow
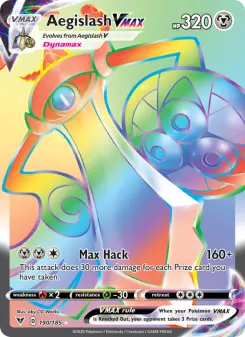
190/185Illustrated by aky CG Works
Secret Rare
Holo Rainbow

191/185Illustrated by 5ban Graphics
Secret Rare
Holo Rainbow
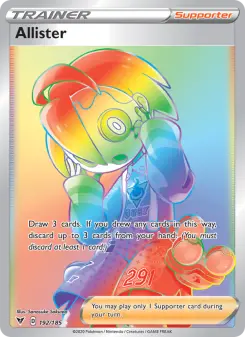
192/185Illustrated by Sanosuke Sakuma
Secret Rare
Holo Rainbow
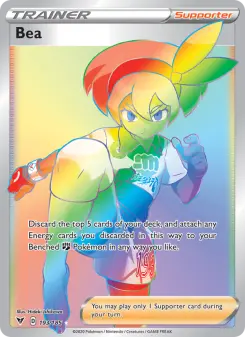
193/185Illustrated by Hideki Ishikawa
Secret Rare
Holo Rainbow
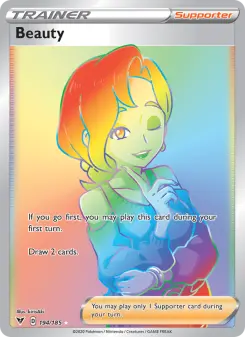
194/185Illustrated by kirisAki
Secret Rare
Holo Rainbow
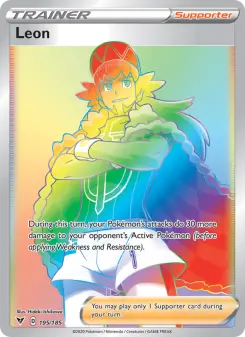
195/185Illustrated by Hideki Ishikawa
Secret Rare
Holo Rainbow
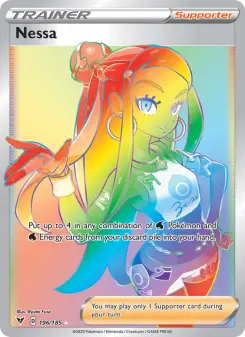
196/185Illustrated by Ryuta Fuse
Secret Rare
Holo Rainbow
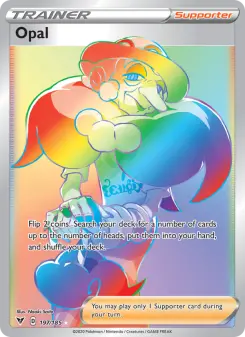
197/185Illustrated by Naoki Saito
Secret Rare
Holo Rainbow
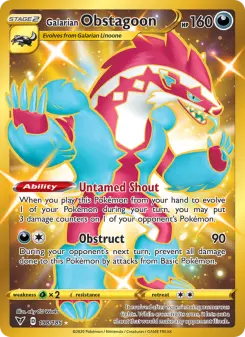
198/185Illustrated by aky CG Works
Secret Rare
Holo Gold
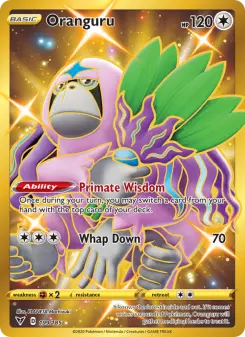
199/185Illustrated by PLANETA Mochizuki
Secret Rare
Holo Gold
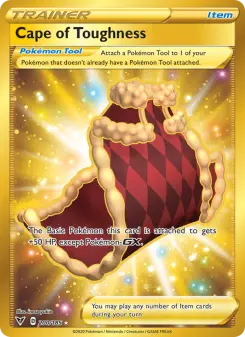
200/185Illustrated by inose yukie
Secret Rare
Holo Gold
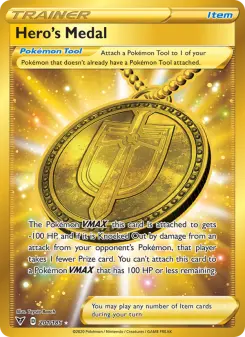
201/185Illustrated by Toyste Beach
Secret Rare
Holo Gold
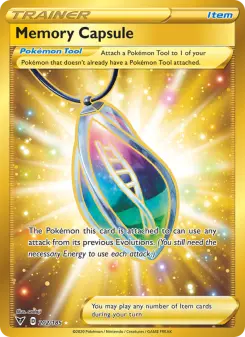
202/185Illustrated by sadaji
Secret Rare
Holo Gold
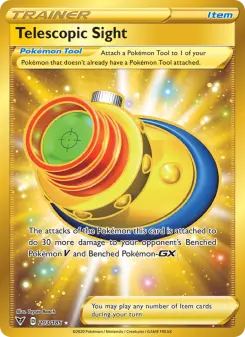
203/185Illustrated by Toyste Beach
Secret Rare
Holo Gold
Vivid Voltage has 185 cards in its numbered checklist, plus 18 secret rares numbered past the printed set size, for 203 cards in total.
A Vivid Voltage master set is 345 variants — every printing pullable from the set's booster packs, including reverse holos and alternate pack foils. A complete set (one of each card) is 203 cards, and our grand master checklist — catalogued pack and non-pack printings across all editions, plus attached promos — currently lists 352 variants. Promo and printing coverage is still being reviewed.