
1/144Illustrated by Toshinao Aoki
Aerodactyl
Rare
Normal · Reverse Holo


SK · E-Card · Released May 12, 2003 · 144 official cards · 182 total
Skyridge is a Pokémon TCG set in the E-Card series, released May 12, 2003. The checklist runs 144 numbered cards, plus 6 secret rares numbered past the printed set size. A complete set is 182 cards. Counting every booster-pack printing — including reverse holos and pack foil patterns — a master set is 332 variants. Adding catalogued non-pack printings and attached promos gives a grand master checklist of 343 variants. Promo and printing coverage is still being reviewed.
Complete set
182cards
Master set
332variants
Grand master set
343variants
Binder visualizer
Pick a finish line and binder format. Each printing gets its own pocket in master and grand master sets.
332 pockets · 37 pages
1 · 1
Normal
2 · 1
Reverse Holo

3 · 2
Normal
4 · 2
Reverse Holo

5 · 3
Normal
6 · 3
Reverse Holo

7 · 4
Normal
8 · 4
Reverse Holo

9 · 5
Normal
1 · 1
Normal
2 · 1
Reverse Holo
3 · 2
Normal
4 · 2
Reverse Holo
5 · 3
Normal
6 · 3
Reverse Holo
7 · 4
Normal
8 · 4
Reverse Holo
9 · 5
Normal
Ninth Pocket for iOS
Track every card and printing, and see exactly what is still missing with Ninth Pocket.

each card lists its printings · + marks grand-master-only versions
1/144Illustrated by Toshinao Aoki
Rare
Normal · Reverse Holo
2/144Illustrated by Kimiya Masago
Rare
Normal · Reverse Holo
3/144Illustrated by Aya Kusube
Rare
Normal · Reverse Holo
4/144Illustrated by Hajime Kusajima
Rare
Normal · Reverse Holo
5/144Illustrated by Hikaru Koike
Rare
Normal · Reverse Holo
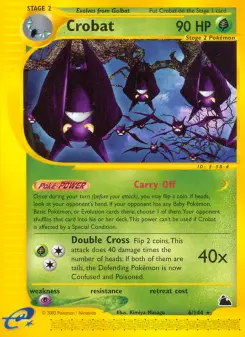
6/144Illustrated by Kimiya Masago
Rare
Normal · Reverse Holo

7/144Kouki Saitou
Rare
Normal · Reverse Holo

8/144Illustrated by Kyoko Umemoto
Rare
Normal · Reverse Holo

9/144Illustrated by Midori Harada
Rare
Normal · Reverse Holo

10/144Illustrated by Kyoko Umemoto
Rare
Normal · Reverse Holo

11/144Illustrated by Kimiya Masago
Rare
Normal · Reverse Holo
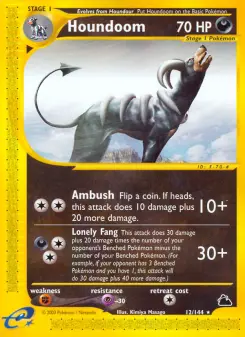
12/144Illustrated by Kimiya Masago
Rare
Normal · Reverse Holo

13/144Illustrated by Hikaru Koike
Rare
Normal · Reverse Holo
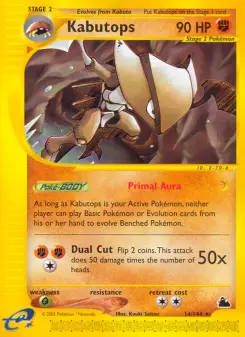
14/144Kouki Saitou
Rare
Normal · Reverse Holo
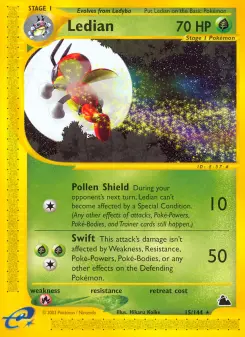
15/144Illustrated by Hikaru Koike
Rare
Normal · Reverse Holo

16/144Illustrated by Naoyo Kimura
Rare
Normal · Reverse Holo
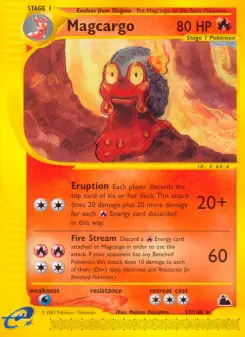
17/144Illustrated by Hajime Kusajima
Rare
Normal · Reverse Holo
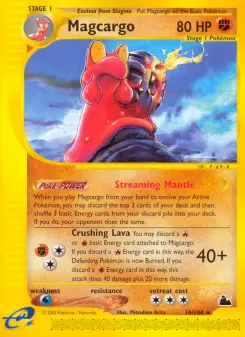
18/144Mitsuhiro Arita
Rare
Normal · Reverse Holo
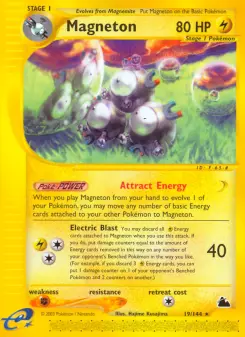
19/144Illustrated by Hajime Kusajima
Rare
Normal · Reverse Holo

20/144Kouki Saitou
Rare
Normal · Reverse Holo

21/144Kouki Saitou
Rare
Normal · Reverse Holo

22/144Mitsuhiro Arita
Rare
Normal · Reverse Holo
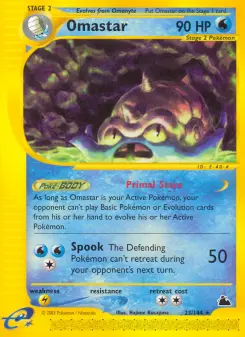
23/144Illustrated by Hajime Kusajima
Rare
Normal · Reverse Holo

24/144Yuka Morii
Rare
Normal · Reverse Holo

25/144Atsuko Nishida
Rare
Normal · Reverse Holo

26/144Illustrated by Naoyo Kimura
Rare
Normal · Reverse Holo

27/144Yuka Morii
Rare
Normal · Reverse Holo

28/144Mitsuhiro Arita
Rare
Normal · Reverse Holo

29/144Mitsuhiro Arita
Rare
Normal · Reverse Holo
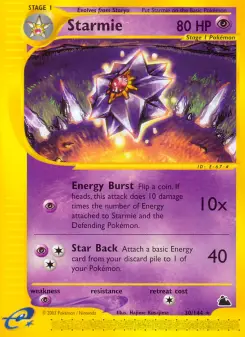
30/144Illustrated by Hajime Kusajima
Rare
Normal · Reverse Holo

31/144Illustrated by Hikaru Koike
Rare
Normal · Reverse Holo

32/144Atsuko Nishida
Rare
Normal · Reverse Holo

33/144Illustrated by Naoyo Kimura
Rare
Normal · Reverse Holo

34/144Illustrated by Hizuki Misono
Rare
Normal · Reverse Holo

35/144Atsuko Nishida
Rare
Normal · Reverse Holo

36/144Illustrated by Sumiyoshi Kizuki
Uncommon
Normal · Reverse Holo

37/144Illustrated by Yukiko Baba
Uncommon
Normal · Reverse Holo

38/144Illustrated by Hisao Nakamura
Uncommon
Normal · Reverse Holo

39/144Atsuko Nishida
Uncommon
Normal · Reverse Holo

40/144Atsuko Nishida
Uncommon
Normal · Reverse Holo
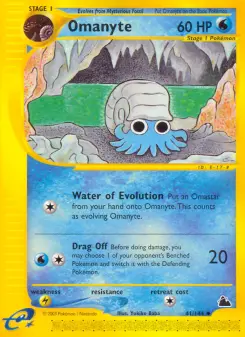
41/144Illustrated by Yukiko Baba
Uncommon
Normal · Reverse Holo
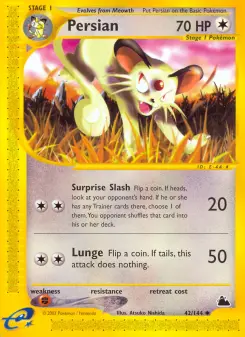
42/144Atsuko Nishida
Uncommon
Normal · Reverse Holo
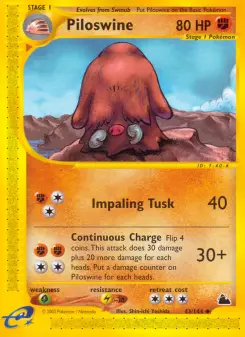
43/144Illustrated by Shin-ichi Yoshida
Uncommon
Normal · Reverse Holo

44/144Illustrated by Kyoko Umemoto
Uncommon
Normal · Reverse Holo

45/144Kagemaru Himeno
Uncommon
Normal · Reverse Holo

46/144Illustrated by Keiko Fukuyama
Common
Normal · Reverse Holo
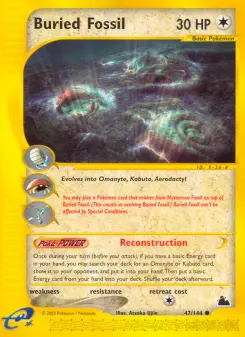
47/144Illustrated by Atsuko Ujiie
Common
Normal · Reverse Holo

48/144Illustrated by Miki Tanaka
Common
Normal · Reverse Holo

49/144Illustrated by Sumiyoshi Kizuki
Common
Normal · Reverse Holo

50/144Tomokazu Komiya
Common
Normal · Reverse Holo

51/144Tomokazu Komiya
Common
Normal · Reverse Holo

52/144Tomokazu Komiya
Common
Normal · Reverse Holo

53/144Yuka Morii
Common
Normal · Reverse Holo
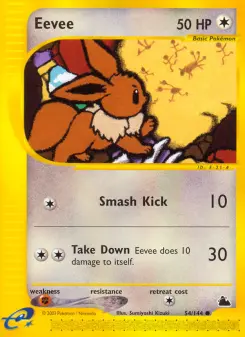
54/144Illustrated by Sumiyoshi Kizuki
Common
Normal · Reverse Holo
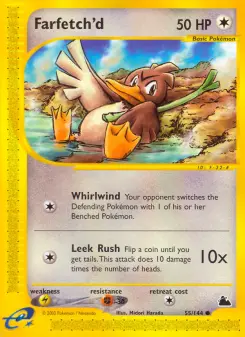
55/144Illustrated by Midori Harada
Common
Normal · Reverse Holo

56/144Kouki Saitou
Common
Normal · Reverse Holo

57/144Illustrated by Kyoko Umemoto
Common
Normal · Reverse Holo

58/144Illustrated by Yukiko Baba
Common
Normal · Reverse Holo

59/144Illustrated by Shin-ichi Yoshida
Common
Normal · Reverse Holo

60/144Tomokazu Komiya
Common
Normal · Reverse Holo

61/144Tomokazu Komiya
Common
Normal · Reverse Holo

62/144Illustrated by Masako Yamashita
Common
Normal · Reverse Holo

63/144Illustrated by Kyoko Umemoto
Common
Normal · Reverse Holo

64/144Kouki Saitou
Common
Normal · Reverse Holo

65/144Illustrated by Hizuki Misono
Common
Normal · Reverse Holo

66/144Illustrated by Hajime Kusajima
Common
Normal · Reverse Holo

67/144Illustrated by Keiko Fukuyama
Common
Normal · Reverse Holo

68/144Atsuko Nishida
Common
Normal · Reverse Holo
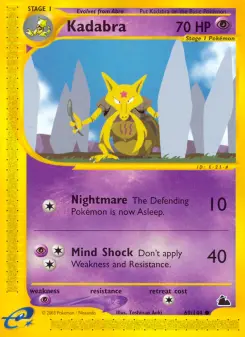
69/144Illustrated by Toshinao Aoki
Common
Normal · Reverse Holo

70/144Illustrated by Hisao Nakamura
Common
Normal · Reverse Holo

71/144Illustrated by Aya Kusube
Common
Normal · Reverse Holo

72/144Illustrated by Masako Yamashita
Common
Normal · Reverse Holo

73/144Illustrated by Yukiko Baba
Common
Normal · Reverse Holo

74/144Illustrated by Miki Tanaka
Common
Normal · Reverse Holo
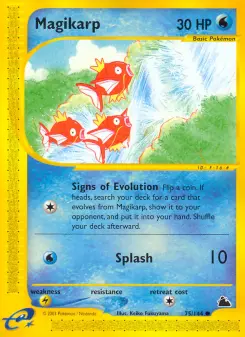
75/144Illustrated by Keiko Fukuyama
Common
Normal · Reverse Holo

76/144Illustrated by Shin-ichi Yoshida
Common
Normal · Reverse Holo

77/144Illustrated by Sumiyoshi Kizuki
Common
Normal · Reverse Holo

78/144Illustrated by Keiko Fukuyama
Common
Normal · Reverse Holo

79/144Tomokazu Komiya
Common
Normal · Reverse Holo

80/144Illustrated by Miki Tanaka
Common
Normal · Reverse Holo
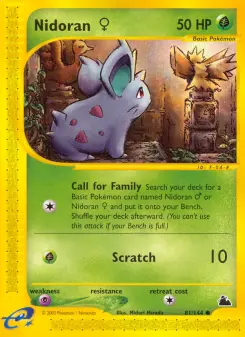
81/144Illustrated by Midori Harada
Common
Normal · Reverse Holo

82/144Illustrated by Masako Yamashita
Common
Normal · Reverse Holo

83/144Illustrated by Midori Harada
Common
Normal · Reverse Holo
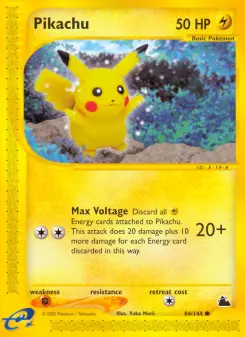
84/144Yuka Morii
Common
Normal · Reverse Holo

85/144Mitsuhiro Arita
Common
Normal · Reverse Holo

86/144Illustrated by Midori Harada
Common
Normal · Reverse Holo

87/144Illustrated by Miki Tanaka
Common
Normal · Reverse Holo

88/144Illustrated by Hisao Nakamura
Common
Normal · Reverse Holo
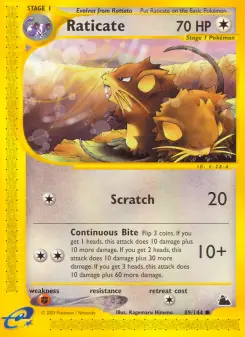
89/144Kagemaru Himeno
Common
Normal · Reverse Holo

90/144Illustrated by Masako Yamashita
Common
Normal · Reverse Holo

91/144Illustrated by Hisao Nakamura
Common
Normal · Reverse Holo

92/144Illustrated by Naoyo Kimura
Common
Normal · Reverse Holo

93/144Illustrated by Miki Tanaka
Common
Normal · Reverse Holo

94/144Illustrated by Hisao Nakamura
Common
Normal · Reverse Holo

95/144Illustrated by Yukiko Baba
Common
Normal · Reverse Holo

96/144Illustrated by Sumiyoshi Kizuki
Common
Normal · Reverse Holo

97/144Illustrated by Katsura Tabata
Common
Normal · Reverse Holo

98/144Illustrated by Naoyo Kimura
Common
Normal · Reverse Holo

99/144Illustrated by Yukiko Baba
Common
Normal · Reverse Holo

100/144Illustrated by Naoyo Kimura
Common
Normal · Reverse Holo
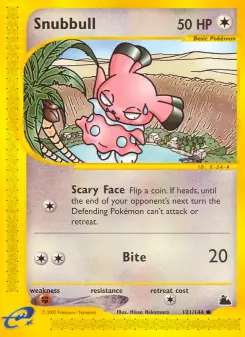
101/144Illustrated by Hisao Nakamura
Common
Normal · Reverse Holo
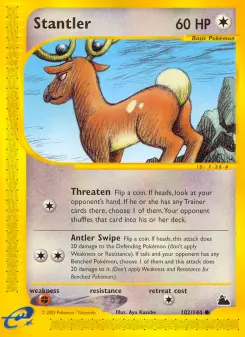
102/144Illustrated by Aya Kusube
Common
Normal · Reverse Holo

103/144Illustrated by Kyoko Umemoto
Common
Normal · Reverse Holo

104/144Illustrated by Keiko Fukuyama
Common
Normal · Reverse Holo

105/144Illustrated by Miki Tanaka
Common
Normal · Reverse Holo

106/144Illustrated by Toshinao Aoki
Common
Normal · Reverse Holo

107/144Yuka Morii
Common
Normal · Reverse Holo

108/144Illustrated by Toshinao Aoki
Common
Normal · Reverse Holo

109/144Kagemaru Himeno
Common
Normal · Reverse Holo

110/144Mitsuhiro Arita
Common
Normal · Reverse Holo

111/144Illustrated by Yukiko Baba
Common
Normal · Reverse Holo

112/144Tomokazu Komiya
Common
Normal · Reverse Holo

113/144Illustrated by Sumiyoshi Kizuki
Common
Normal · Reverse Holo

114/144Illustrated by Keiko Fukuyama
Common
Normal · Reverse Holo

115/144Illustrated by Sumiyoshi Kizuki
Common
Normal · Reverse Holo

116/144Illustrated by Miki Tanaka
Common
Normal · Reverse Holo

117/144Illustrated by Hisao Nakamura
Common
Normal · Reverse Holo

118/144Illustrated by Kyoko Umemoto
Common
Normal · Reverse Holo

119/144Illustrated by Midori Harada
Uncommon
Normal · Reverse Holo

120/144Kagemaru Himeno
Uncommon
Normal · Reverse Holo

121/144Kagemaru Himeno
Uncommon
Normal · Reverse Holo

122/144Illustrated by Jungo Suzuki
Uncommon
Normal · Reverse Holo

123/144Kagemaru Himeno
Uncommon
Normal · Reverse Holo · +Kevin Nguyen

124/144Illustrated by Katsura Tabata
Uncommon
Normal · Reverse Holo

125/144Kagemaru Himeno
Uncommon
Normal · Reverse Holo

126/144Illustrated by Katsura Tabata
Uncommon
Normal · Reverse Holo · +Chris Fulop

127/144Illustrated by Katsura Tabata
Uncommon
Normal · Reverse Holo

128/144Illustrated by Katsura Tabata
Uncommon
Normal · Reverse Holo

129/144Illustrated by Hiromichi Sugiyama
Uncommon
Normal · Reverse Holo

130/144Illustrated by Hiromichi Sugiyama
Uncommon
Normal · Reverse Holo

131/144Illustrated by Hiromichi Sugiyama
Uncommon
Normal · Reverse Holo

132/144Illustrated by Midori Harada
Uncommon
Normal · Reverse Holo

133/144Illustrated by Hiromichi Sugiyama
Uncommon
Normal · Reverse Holo

134/144Illustrated by Hiromichi Sugiyama
Uncommon
Normal · Reverse Holo

135/144Illustrated by Hiromichi Sugiyama
Uncommon
Normal · Reverse Holo

136/144Illustrated by Hiromichi Sugiyama
Uncommon
Normal · Reverse Holo

137/144Illustrated by Ken Ikuji
Uncommon
Normal · Reverse Holo

138/144Kagemaru Himeno
Uncommon
Normal · Reverse Holo · +Chris Fulop · +Kevin Nguyen · +Reed Weichler

139/144Illustrated by Jungo Suzuki
Uncommon
Normal · Reverse Holo

140/144Kagemaru Himeno
Uncommon
Normal · Reverse Holo · +Chris Fulop · +Tsuguyoshi Yamato

141/144Illustrated by Midori Harada
Uncommon
Normal · Reverse Holo

142/144Illustrated by Shin-ichi Yoshikawa
Uncommon
Normal · Reverse Holo

143/144Illustrated by Shin-ichi Yoshikawa
Uncommon
Normal · Reverse Holo

144/144Illustrated by Shin-ichi Yoshikawa
Uncommon
Normal · Reverse Holo
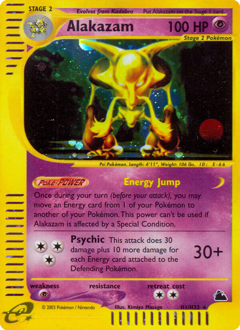
H01/144Illustrated by Kimiya Masago
Holo Rare
Holo

H02/144Illustrated by Aya Kusube
Holo Rare
Holo

H03/144Illustrated by Hajime Kusajima
Holo Rare
Holo

H04/144Illustrated by Hikaru Koike
Holo Rare
Holo

H05/144Illustrated by Kimiya Masago
Holo Rare
Holo

H06/144Kouki Saitou
Holo Rare
Holo

H07/144Illustrated by Kyoko Umemoto
Holo Rare
Holo

H08/144Illustrated by Midori Harada
Holo Rare
Holo
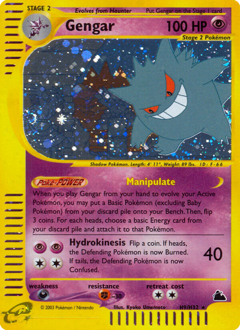
H09/144Illustrated by Kyoko Umemoto
Holo Rare
Holo
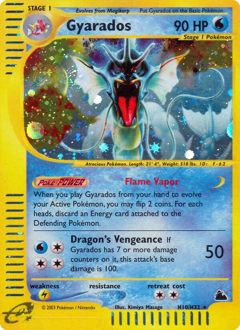
H10/144Illustrated by Kimiya Masago
Holo Rare
Holo
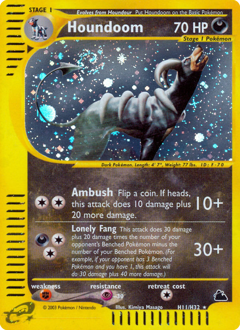
H11/144Illustrated by Kimiya Masago
Holo Rare
Holo

H12/144Illustrated by Hikaru Koike
Holo Rare
Holo
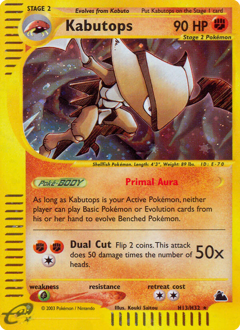
H13/144Kouki Saitou
Holo Rare
Holo

H14/144Illustrated by Hikaru Koike
Holo Rare
Holo

H15/144Illustrated by Naoyo Kimura
Holo Rare
Holo

H16/144Illustrated by Hajime Kusajima
Holo Rare
Holo

H17/144Mitsuhiro Arita
Holo Rare
Holo

H18/144Illustrated by Hajime Kusajima
Holo Rare
Holo

H19/144Kouki Saitou
Holo Rare
Holo

H20/144Kouki Saitou
Holo Rare
Holo

H21/144Mitsuhiro Arita
Holo Rare
Holo
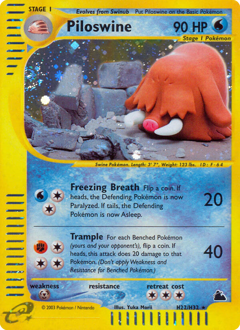
H22/144Yuka Morii
Holo Rare
Holo
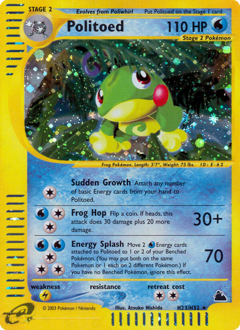
H23/144Atsuko Nishida
Holo Rare
Holo
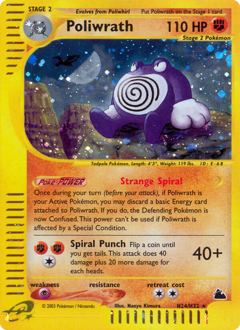
H24/144Illustrated by Naoyo Kimura
Holo Rare
Holo
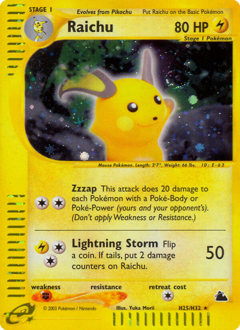
H25/144Yuka Morii
Holo Rare
Holo

H26/144Mitsuhiro Arita
Holo Rare
Holo

H27/144Mitsuhiro Arita
Holo Rare
Holo
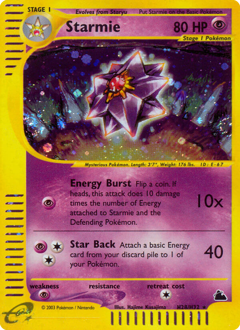
H28/144Illustrated by Hajime Kusajima
Holo Rare
Holo

H29/144Illustrated by Hikaru Koike
Holo Rare
Holo
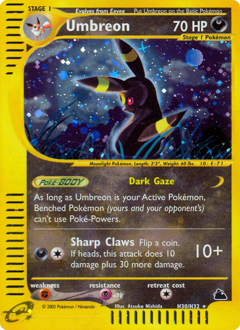
H30/144Atsuko Nishida
Holo Rare
Holo

H31/144Illustrated by Naoyo Kimura
Holo Rare
Holo

H32/144Atsuko Nishida
Holo Rare
Holo
Numbered past the set's official 144 cards.
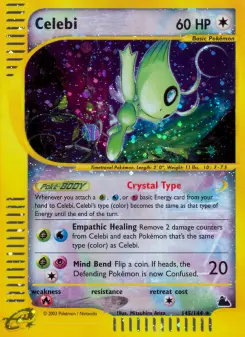
145/144Mitsuhiro Arita
Rare
Holo · Reverse Holo
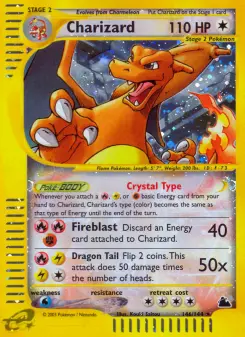
146/144Kouki Saitou
Rare
Holo · Reverse Holo · +Holo Cracked Ice Jumbo
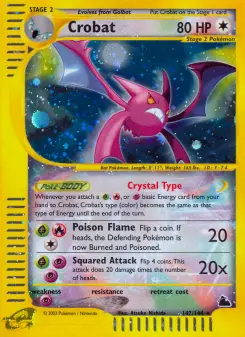
147/144Atsuko Nishida
Rare
Holo · Reverse Holo · +Holo Cracked Ice Jumbo
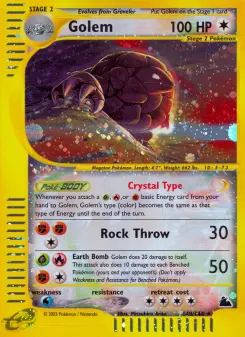
148/144Mitsuhiro Arita
Rare
Holo · Reverse Holo
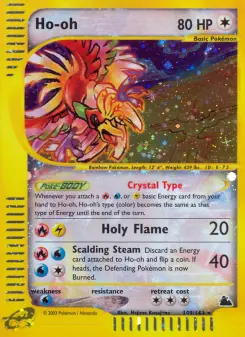
149/144Illustrated by Hajime Kusajima
Rare
Holo · Reverse Holo · +Holo Cracked Ice Jumbo

150/144Atsuko Nishida
Rare
Holo · Reverse Holo · +Holo Cracked Ice Jumbo
Skyridge has 144 cards in its numbered checklist, plus 6 secret rares numbered past the printed set size, for 182 cards in total.
A Skyridge master set is 332 variants — every printing pullable from the set's booster packs, including reverse holos and alternate pack foils. A complete set (one of each card) is 182 cards, and our grand master checklist — catalogued pack and non-pack printings across all editions, plus attached promos — currently lists 343 variants. Promo and printing coverage is still being reviewed.